

What to Expect Before You Begin
Unboxing a new tablet is straightforward, but going in without a plan can lead to skipped settings that are harder to revisit later. The setup process on both major tablet platforms - Apple's iPadOS and Google's Android - follows a similar sequence: language, network, account, security, and permissions. Understanding that sequence means you will not be caught off guard or feel rushed into decisions you have not thought through.
The two things most people wish they had prepared in advance are their Wi-Fi password and their account login. Have both ready. If you are migrating content from a previous device, a little preparation before you start will save you significant time - our step-by-step transfer checklist walks through exactly what to back up first.
What you will need
Secure Your Account Credentials First
Your Apple ID or Google account is the master key to your tablet and everything stored on it. Write down your username and password and keep them somewhere safe and private before you begin. If you lose access to this account, recovering your tablet data can be complicated. Never store your password in a notes app on the same device.
Step-by-Step Setup Instructions
Follow each step in order. The process typically takes between 15 and 45 minutes depending on your internet speed and how many app updates download in the background. Keep the tablet plugged in throughout.
Avoid Public Wi-Fi During Initial Setup
Setting up your tablet on an open, unsecured public Wi-Fi network exposes your account credentials to potential interception. Always use a trusted home or personal network during the initial configuration. Once setup is complete, review the mobile security basics you should apply before connecting to public hotspots.
Charge the tablet before powering on
Connect the tablet to power using the included adapter and let it charge to at least 80% before you begin. Setup downloads firmware updates and syncs account data, all of which drain the battery quickly. Starting with a near-full charge eliminates the risk of the device shutting down mid-process, which can occasionally cause setup errors that require starting over.
Power on and select your language and region
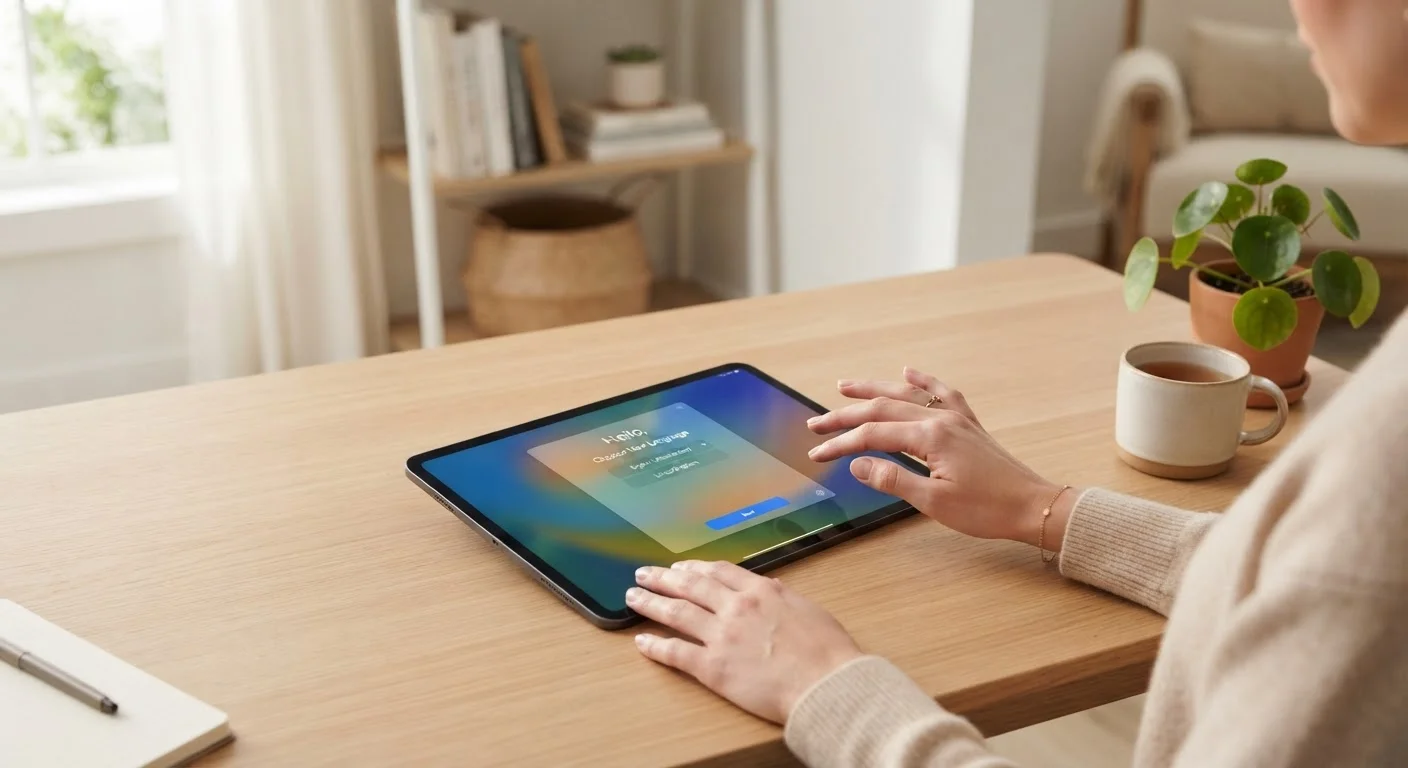
Press and hold the power button until the screen lights up. You will be guided through a series of introductory screens. Select your preferred language first, then choose your country or region - this determines the default keyboard layout, date format, and which apps and services are available in the built-in store. Choose carefully, as changing region settings later can affect purchased content access.
Connect to your Wi-Fi network
From the list of available networks, tap your home Wi-Fi network and enter the password. A stable connection is required to proceed with account sign-in and to download any system software updates available for your device. Avoid skipping this step - setup completed offline is incomplete and leaves your tablet potentially vulnerable to known security issues that updates address.
Sign in to or create your account
On iPads, you will be prompted to sign in with an Apple ID. On Android tablets, you will sign in with a Google account. If you do not have one, both platforms walk you through account creation at this stage. Your account ties the device to your identity, enables app downloads, and activates cloud backup. Use a strong, unique password and enable two-factor authentication when offered - this adds a critical layer of security.
Set up a screen lock
When prompted, enable a PIN, password, pattern, or biometric lock (fingerprint or face recognition). A screen lock is your first line of defense if the tablet is lost or borrowed. Choose a PIN or password of at least six characters. Biometric options add convenience without sacrificing security - you can typically use either method. For more on protecting the personal data on your devices, the privacy checklist for lending your device covers related best practices.
Review location, analytics, and privacy settings
The setup wizard will present a series of permission prompts covering location services, diagnostic data sharing, and personalized advertising. Read each one briefly before accepting. You can allow location access for apps like maps while declining to share device analytics with the manufacturer. None of these settings are permanent - you can adjust them at any time in the Settings app under Privacy or Security. Being deliberate here takes under two minutes and pays long-term dividends.
Install updates and add essential apps
Once setup completes, navigate to Settings and check for system software updates. Install any that are available before you start using the tablet heavily. Next, open the App Store or Google Play Store and download only the apps you know you will use regularly. A lean app library keeps the device running smoothly and reduces your exposure to unnecessary data collection. If you plan to connect smart home devices, see our guide to smart home device setup for pairing tips.
Transferring from an Old Device? Plan Ahead
If you are moving from an older tablet or phone, most platforms offer a data-transfer option during setup. Before you begin, consult our device transfer checklist to make sure your photos, contacts, and app data are backed up and ready to migrate. Doing this before you start the new device setup saves significant time.
After Setup: A Few Final Checks
Once you have completed the initial setup, take a few minutes to verify the following before handing the tablet to another household member or settling in for regular use:
- Cloud backup is enabled: Confirm in Settings that automatic backup is turned on. This ensures your data is protected from day one.
- Screen timeout is configured: Set the screen to lock automatically after one to two minutes of inactivity under Display or Screen settings. This is a simple habit that protects your privacy without any effort on your part.
- Storage is checked: Look at how much storage the device has and how much is already in use after setup. This gives you a realistic baseline for how many apps and how much media you can store.
Your tablet is now ready to use with a solid foundation of security and privacy settings in place. As your comfort grows, you can explore additional customizations - but the defaults you have just configured are sound starting points for most everyday users.
The content on this site is for informational purposes only and is not a substitute for professional advice. Always consult a qualified professional for guidance specific to your situation.