

Why Decluttering Goes Wrong (And How to Prevent It)
Most decluttering regrets follow a predictable pattern: someone moves quickly, discards in bulk, and later discovers that a needed document, a useful tool, or an irreplaceable keepsake was lost in the process. The problem isn't the act of decluttering — it's the absence of a protective structure before starting.
Effective decluttering isn't about minimalism for its own sake. It's about reducing the friction of daily life while keeping what genuinely serves you. That requires slowing down enough to make intentional decisions rather than reactive ones. If you're also thinking about how your home organization intersects with broader household budgeting, a complete personal finance planning resource can help you think through the financial side of home management.
Avoid Decluttering in Emotional Moments
Making keep-or-discard decisions when you're stressed, grieving, or pressed for time increases the likelihood of discarding something you'll later regret. Schedule decluttering sessions when you're calm and unhurried. If a category feels emotionally charged — inherited items, childhood memorabilia — set it aside and return to it separately.
The steps below are designed to protect what matters while giving you a clear, repeatable method for clearing out what doesn't.
What you will need
What You'll Need
Gather your materials before starting. Working with the right supplies reduces interruptions and keeps the sorting process moving.
Sorting bins or boxes (3–4)
Physically separate items into Keep, Donate, Discard, and Uncertain categories as you work.
Label maker or adhesive labels
Mark storage containers clearly so kept items remain findable after the session.
Document scanner or scanning app
Create digital backups of important papers before filing or discarding originals.
Shredder
Safely destroy sensitive documents containing personal or financial information.
Inventory notebook or spreadsheet
Record what you've kept and where it's stored, reducing future search time.
Step-by-Step: Decluttering With Intention
Follow these steps in order. Each one builds on the previous, and skipping the early stages — particularly the protected-categories step — is where most people run into trouble.
Set up four sorting categories before you touch anything
Label four containers or zones: Keep, Donate, Discard, and Uncertain. Having a physical home for each decision removes the mental friction of choosing in the moment. The Uncertain bin is critical — it gives you an exit ramp when you're genuinely unsure, and prevents rushed decisions on items that may matter.
Identify non-negotiable keep categories first
Before sorting anything, write down the categories of items that are automatically protected: legal documents, financial records, medical paperwork, irreplaceable sentimental items, and tools you use regularly. These go directly into Keep — no evaluation required. This step prevents accidental loss by establishing guardrails before the sorting impulse kicks in.
For paperwork guidance, see what records to keep and how to store them.
Work one zone at a time, handling each item once
Choose a single starting point — one drawer, one shelf, one cabinet — and process every item in it before moving on. Pick each item up, assess it against your categories, and place it immediately. Avoid creating staging piles, which tend to get shuffled rather than resolved. Completing zones creates visible progress and reduces the chance of items disappearing into an unsorted middle ground.
Digitize papers and photos before discarding originals
For documents and photographs you want to preserve but don't need in physical form, use a flatbed scanner or a smartphone scanning app to create digital copies. Store files in a clearly named folder structure — by year, category, or both — and back them up in at least two locations (for example, an external drive and a cloud service). Only discard originals once you've confirmed the digital copy is legible and saved.
Apply a hold period to Uncertain items
Place Uncertain items in a sealed box, write the date on the outside, and store it out of the way for 30–60 days. If you haven't needed anything from the box by that date, that's useful data — but don't treat it as automatic grounds for discarding. Open the box, review each item, and make a final decision with fresh eyes. Items you actively missed during the hold period are almost certainly keepers.
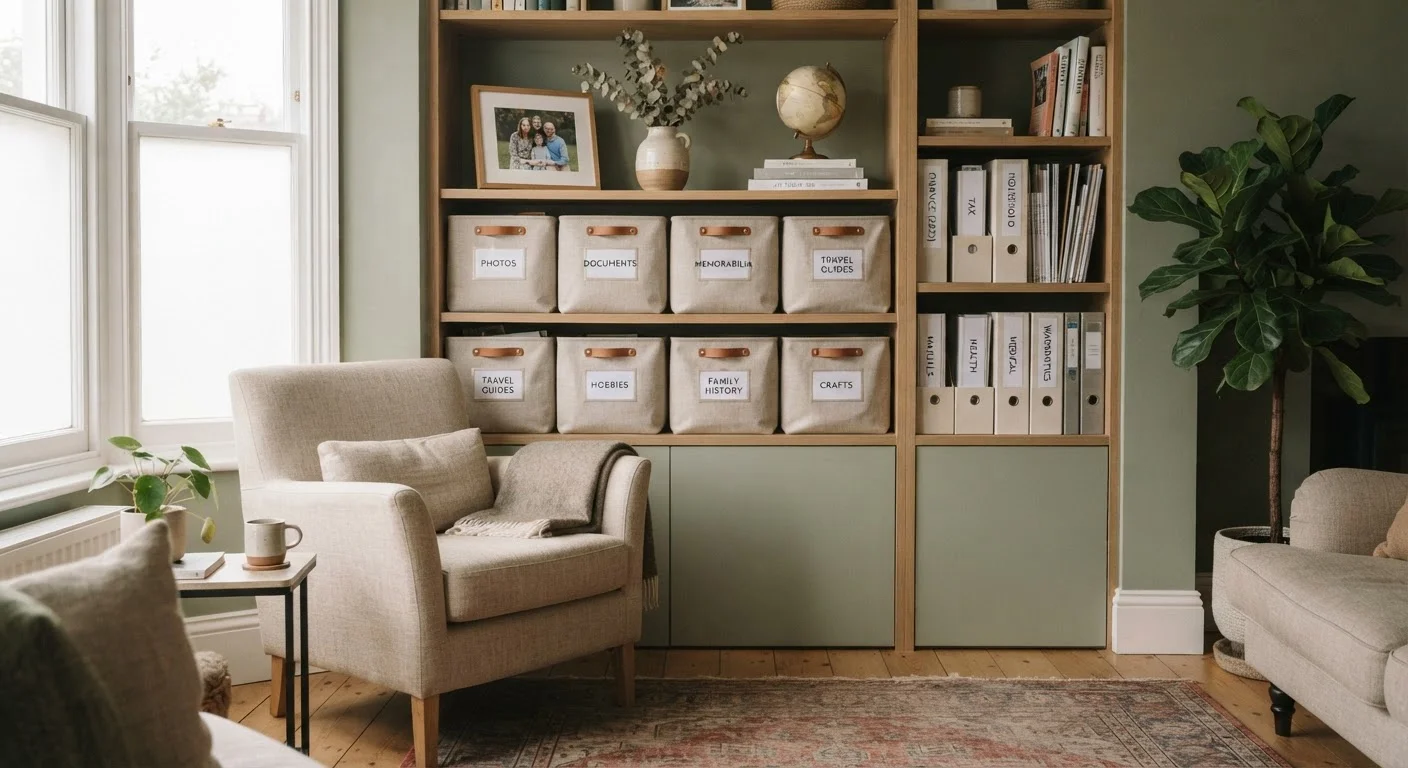
Store kept items in labeled, retrievable systems
Clutter often returns because kept items end up in unlabeled or inconvenient storage. Use clear bins, labeled folders, or drawer dividers to give each category a consistent home. Prioritize accessibility for frequently used items and archive rarely-needed items in deeper storage. If your space is limited, practical storage strategies for small homes can help you work within your footprint without a renovation.
Use the 'One Zone at a Time' Rule
Resist the urge to pull out items from multiple rooms at once. Completing one zone — a single drawer, shelf, or cabinet — before moving on keeps the process manageable and ensures nothing gets misplaced mid-session. Pair this approach with a cleaning schedule to build momentum over time.
Don't Discard Legal or Financial Records
Before purging paperwork, confirm how long records must be retained — tax documents, insurance policies, property deeds, and medical records often have legal or financial implications. The IRS generally recommends keeping tax records for at least three to seven years depending on your situation. When in doubt, consult a qualified financial or legal professional before shredding anything.
Once you've completed the process, consider pairing your newly organized space with a room-by-room wardrobe review. The wardrobe audit approach applies similar structured thinking to clothing and closets.
The content on this site is for informational purposes only and is not a substitute for professional advice. Always consult a qualified professional for guidance specific to your situation.