

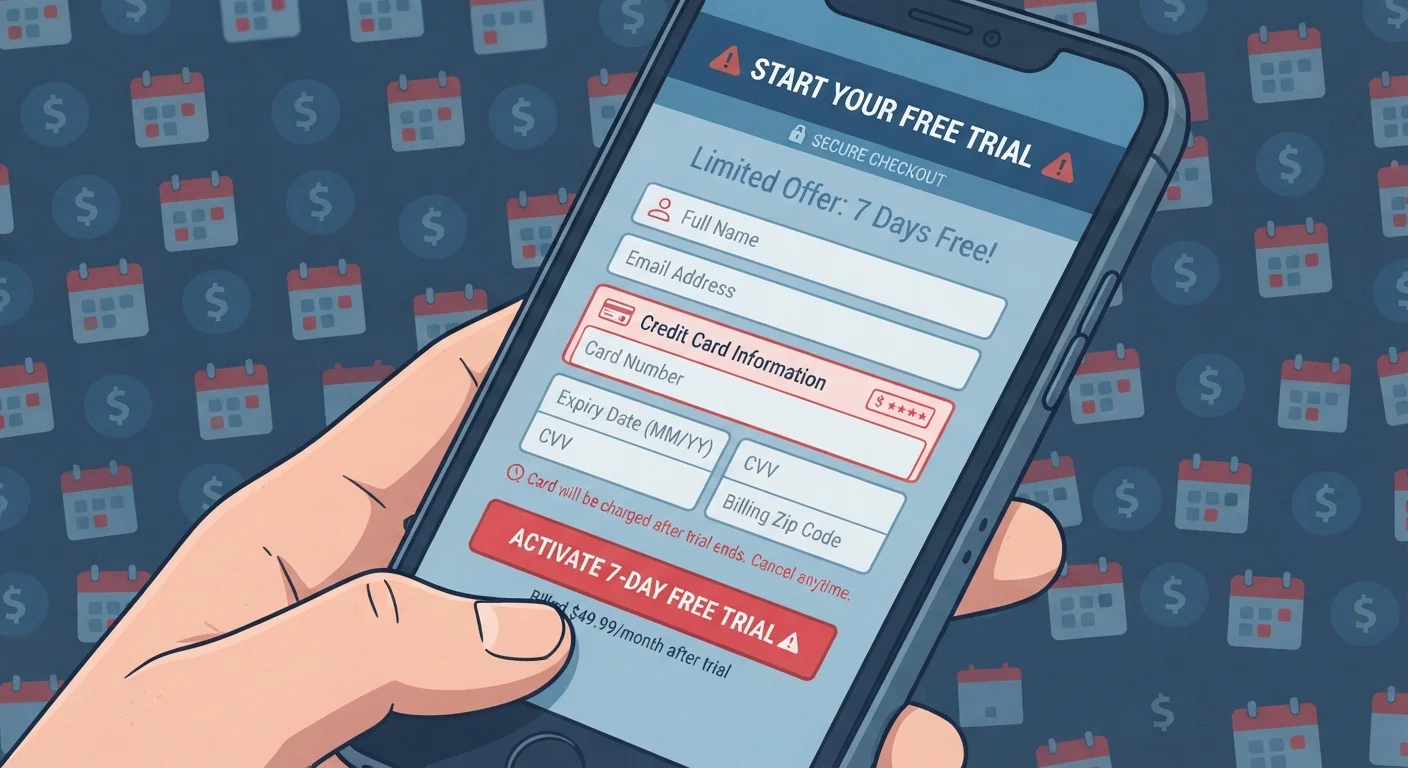
How Free Trials Are Designed to Convert
The term "free trial" implies zero risk, but the business model behind it depends on a specific outcome: that enough users forget, procrastinate, or find cancellation difficult enough that they become paying subscribers. This isn't cynicism — it's the documented economics of subscription businesses, and regulators have noticed.
The mechanism is called negative option billing. When you enter payment details to start a trial, you're agreeing that your silence at the end of the trial period counts as consent to be charged. The Federal Trade Commission (FTC) has issued rules requiring companies to clearly disclose these terms, but disclosure buried in checkbox fine print or a pre-ticked consent box still technically satisfies many platforms' legal obligations.
Several design patterns are specifically engineered to reduce cancellation rates: countdown timers that create urgency, cancellation flows requiring multiple confirmation steps, and trial end dates communicated only in the original confirmation email you may never re-read. Understanding these patterns is the first step to not falling for them. For a broader look at how contract terms catch consumers off guard, see our breakdown of the fine print that costs shoppers the most.
Trial Lengths Are Often Shorter Than They Appear
A "30-day free trial" that begins the moment you submit payment details — including the day you sign up — can effectively give you fewer than 30 usable days. Some trials count the signup day as day one. Always note the exact end date shown in your confirmation email, not just the trial duration advertised.
What to Do Before You Enter Payment Details
The safest point to protect yourself is before you sign up — not after you spot a charge. Run through this checklist every time a service asks for your card.
What you will need
Read the trial terms before clicking 'Start Trial'
Locate the billing disclosure — usually a small block of text near the payment button. Confirm: the exact trial length, the price that kicks in after the trial, and how to cancel. If this information isn't visible without clicking through to separate pages, treat that as a red flag.
Set a calendar reminder for two days before the trial ends
Do this immediately after signing up, not later. Set the reminder two days before — not the day of — so you have time to cancel even if the company's cancellation flow takes multiple steps or requires a phone call.
Use a virtual card number or a separate low-balance card
Many major banks and credit unions offer virtual card numbers — one-time or merchant-locked card numbers tied to your real account. If the trial service attempts a charge after you've cancelled or after a virtual card expires, the transaction simply declines. Alternatively, use a prepaid card loaded with just enough to cover the trial's stated $0 or $1 verification charge.
Screenshot or save the cancellation confirmation
When you do cancel, save proof: a screenshot of the confirmation screen, a forwarded confirmation email, or a chat transcript. This is your evidence if the company disputes that you cancelled before the charge was processed.
Check your card statement within the first billing cycle
Even after cancelling, verify that no charge appeared. Billing systems sometimes fail to process cancellations correctly, particularly around weekends or service outages. Catching a mistaken charge in the first cycle is far easier than disputing months of accumulated billing.
Apps Work the Same Way
Mobile app subscriptions — especially those started through the App Store or Google Play — have their own cancellation paths separate from the app itself. Deleting an app does not cancel its subscription. You must cancel through your device's subscription management settings. For more on how app business models are structured, see The Hidden Cost of Free Apps.
If You've Already Been Charged
Catching an unwanted charge doesn't mean you're out of options. Act quickly, because most banks have a limited dispute window — typically 60 days from the statement date the charge appears on.
Contact the company first. Many subscription services will issue a refund for one billing cycle, especially if you can show you didn't use the service. Document the request in writing (email or chat transcript) and save confirmation numbers.
Dispute with your card issuer if the company refuses. A charge you didn't explicitly authorize, or a service that failed to disclose its auto-renewal terms clearly, can qualify as a billing error under the Fair Credit Billing Act. File the dispute in writing and include any evidence of the sign-up flow, such as screenshots.
Report to the FTC. At ReportFraud.ftc.gov, you can file a complaint about deceptive subscription practices. Reports aggregate into enforcement data that affects policy — it's worth the five minutes.
Subscription charges rarely arrive in isolation. If you suspect you've accumulated several recurring charges you didn't actively choose, our guide on subscription creep walks through a full audit process.
Act Within Your Dispute Window
The Fair Credit Billing Act gives consumers the right to dispute billing errors, but you generally must do so in writing within 60 days of the statement date the charge first appears. Waiting longer significantly reduces your ability to recover funds. Contact your card issuer as soon as you identify an unauthorized or undisclosed charge — do not wait to see if it resolves itself.
The content on this site is for informational purposes only and is not a substitute for professional advice. Always consult a qualified professional for guidance specific to your situation.