

Why Carry-On Only Changes the Travel Experience
Skipping checked baggage isn't just about saving a fee — it fundamentally changes how travel feels. You move faster through airports, never wait at baggage claim, and sidestep the anxiety of wondering whether your bag made the connection. For anyone trying to keep a trip budget in check, avoiding checked bag fees on every flight adds up quickly over a year of travel.
The catch, of course, is that most people pack more than they need. The strategies in this guide don't require you to sacrifice comfort — they require you to think more deliberately about what actually earns its place in the bag.
What you will need
What You'll Need Before You Start Packing
Having the right gear makes packing efficiently much easier. You don't need an extensive kit — just a few targeted items that help you compress, organize, and protect your clothing.
Packing Cubes
Compress and organize clothing categories so the bag stays tidy and space is maximized throughout the trip.
Compression Bags
Squeeze bulky items like sweaters or a light jacket into a fraction of their normal volume.
Slim Packing Organizer or Toiletry Bag
Keeps liquids and personal care items in a TSA-compliant quart-size bag and prevents spillage on clothes.
Wrinkle-Release Spray
Refreshes clothes that crease during transit without requiring access to an iron.
Pair these tools with a smart layering approach to seasonal dressing and you'll build a packing list that adapts to variable weather without expanding into a second bag.
Check Your Airline's Size Rules First
Carry-on size limits vary meaningfully between airlines — especially budget carriers, which often enforce stricter dimensions and weight caps than major US airlines. Before you pack, look up the specific bag dimensions allowed by every carrier on your itinerary. A bag that fits a United overhead bin may be gate-checked on a Spirit or Frontier flight.
Step-by-Step: Pack Your Carry-On Like a Pro
Follow these steps in order. Each builds on the last — clothing selection comes before folding technique, and folding comes before bag loading. Skipping ahead leads to re-doing work.
Choose a Versatile Color Palette
Pick two or three neutral base colors — think navy, gray, olive, or black — and one or two accent colors that mix and match across all pieces. This simple constraint means every top can pair with every bottom, multiplying your outfit count without multiplying your packing. If your trip involves both casual days and a nicer dinner out, confirm that at least one piece can dress up or down before it goes in the bag.
Build Your Clothing List With a Formula
Use this reliable framework for a seven-day trip:
- Bottoms: 3 (pants, shorts, or skirts that each work with multiple tops)
- Tops: 5–6 (mix of short- and long-sleeve)
- Underwear and socks: 7 each
- Shoes: 2 pairs maximum (wear the bulkier pair on travel day)
- Layers: 1 light jacket or cardigan
- Dress or outfit for a nicer occasion: 1, only if needed
That's it. If an item doesn't pair with at least two other things already in your pile, leave it behind.
Roll Everything You Can
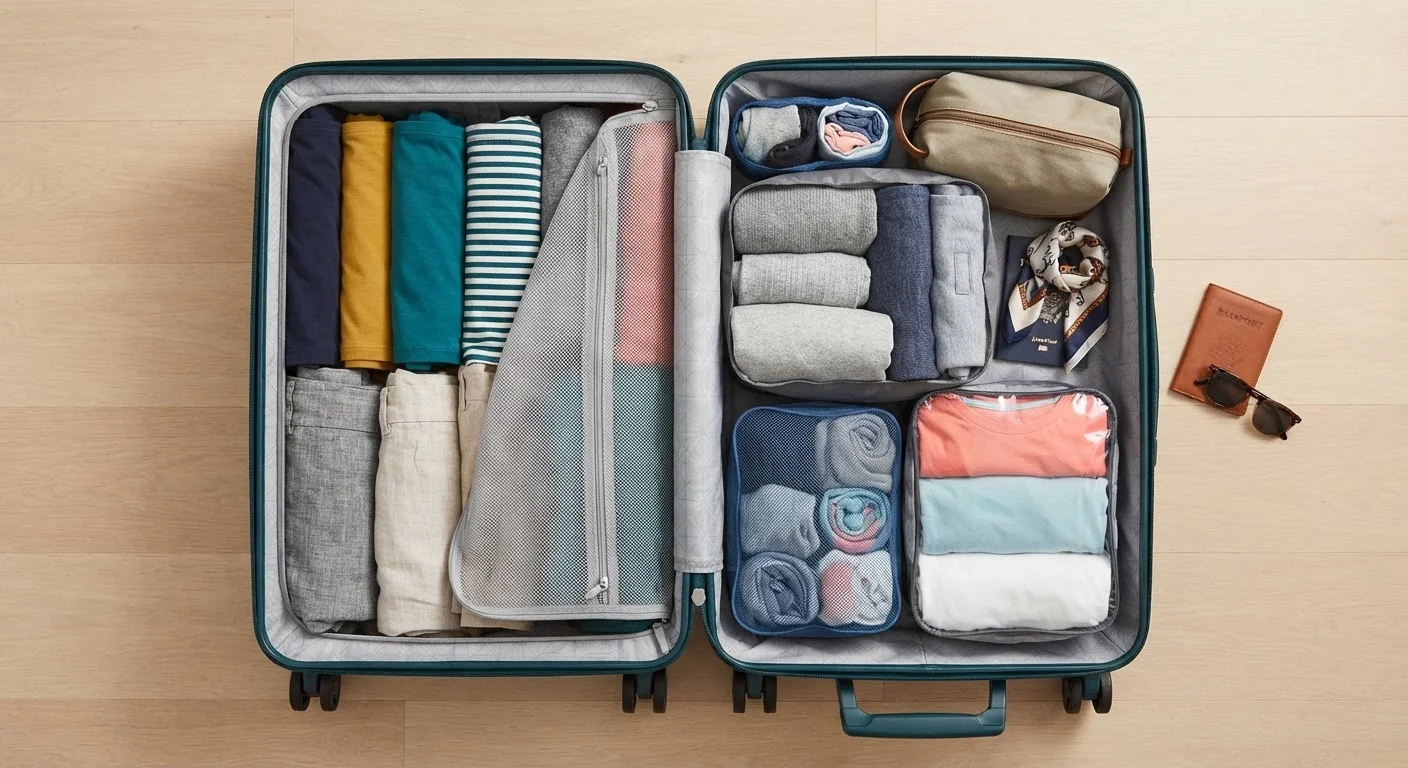
Lay each garment flat, fold in the sleeves or sides to create a neat rectangle, then roll tightly from the hem upward. Rolling reduces wrinkles in casual fabrics and creates compact cylinders that stack efficiently. Reserve flat folding only for structured items like blazers, which roll poorly. Jeans, t-shirts, casual dresses, and workout clothes all roll exceptionally well.
Load the Bag Strategically
Place heaviest items — shoes, toiletry bag, electronics — at the bottom of the suitcase closest to the wheels. This keeps the bag balanced when upright. Rolled clothing cylinders stand vertically in the main compartment so you can see everything at a glance. Tuck socks and underwear inside shoes to reclaim that dead space. Use packing cubes to corral categories: one for tops, one for bottoms, one for workout or sleep clothes.
Maximize Your Personal Item
Your personal item — a backpack, tote, or small daypack — is a legitimate second bag, not an afterthought. Pack your travel documents, laptop or tablet, a change of clothes (helpful if a checked bag ever gets lost on connecting flights), and any snacks or in-flight essentials here. Keeping valuables and electronics in your personal item also means they stay within reach throughout the journey.
Handle Toiletries and Liquids Last
TSA rules require all liquids in carry-on bags to be in containers of 3.4 oz (100 ml) or less, all fitting within a single quart-size clear bag. Transfer products into travel-size containers before packing — don't just toss in a full-size bottle and hope. Solid versions of shampoo, conditioner, and deodorant bypass the liquids rule entirely and take up far less space. Tuck the quart bag in an easy-access outer pocket so security screening stays quick.
Once you've followed this process a couple of times, it becomes muscle memory. Most experienced carry-on travelers report that the packing itself takes under 45 minutes once the clothing list is settled.
Troubleshooting: When the Bag Won't Close
If you've followed the steps and still can't close the bag, work through this checklist before grabbing a bigger suitcase:
- Re-examine your shoe count. Two pairs is the ceiling — one on your feet, one in the bag. Shoes are the most space-inefficient item in any suitcase.
- Check for duplicate items. Two pairs of jeans, three similar neutral tops, multiple charger cables — duplicates are usually the culprit.
- Move bulkier items to your personal bag. A light fleece or extra pair of shoes sometimes fits better in a backpack's main compartment.
- Wear your bulkiest layer to the airport. A heavy cardigan or jacket on your body takes up zero bag space.
The goal isn't minimalism for its own sake — it's arriving with everything you genuinely need and nothing that will sit untouched in the bag all week. That discipline pays dividends every time you walk straight from the gate to wherever you're going.
The content on this site is for informational purposes only and is not a substitute for professional advice. Always consult a qualified professional for guidance specific to your situation.