

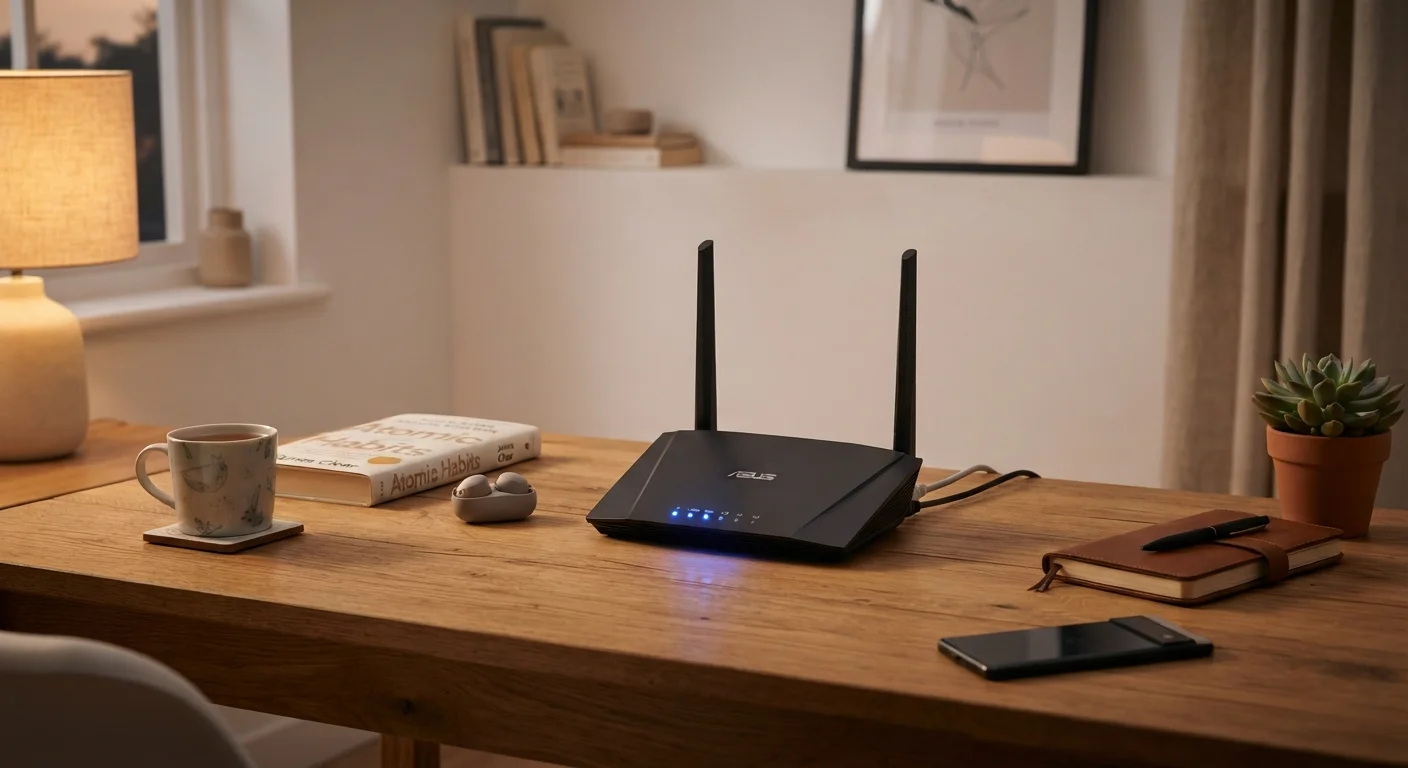
Why a Guest Network Is Worth the Setup
When someone visits your home and asks for the Wi-Fi password, handing over your main network credentials feels routine - but it comes with real risks. Every device on your primary network becomes visible to that connection: printers, smart home hubs, shared drives, and any device that hasn't received a recent security update. A guest network creates a completely separate lane for visitor traffic, keeping your personal devices shielded.
Beyond security, a guest network also helps with performance. You can apply bandwidth limits so a visitor's heavy streaming doesn't crowd out your own devices. For households managing smart home equipment, IoT devices like thermostats and door locks can even be moved to the guest network as a way to isolate them from sensitive computers and phones - a technique discussed in our home network security checklist.
Never Share Your Main Network Password
Giving guests access to your primary Wi-Fi network exposes every connected device in your home - smart TVs, security cameras, laptops, and phones - to potential snooping. A guest network completely sidesteps this risk by creating an isolated lane for visitor traffic. Always treat your main network password as private household information.
Not sure how your home network is structured to begin with? Our plain-English Wi-Fi guide for first-time owners covers the fundamentals before you dive into router settings.
What You'll Need Before You Start
What you will need
Home router with guest network support
The device you'll configure to broadcast a separate guest Wi-Fi signal.
Computer or smartphone
Used to access your router's admin interface through a browser or manufacturer app.
Router admin credentials
The username and password needed to log into your router's settings panel.
Router manufacturer app
Some routers offer a smartphone app as an easier alternative to the browser-based admin panel.
Step-by-Step: Creating Your Guest Network
Router Interfaces Vary Significantly
Menu labels, settings names, and navigation paths differ across router manufacturers and firmware versions. If the exact steps below don't match what you see, look for terms like 'Guest Network,' 'Guest Zone,' or 'Visitor Access' in your router's wireless settings. Consult your router's manual or the manufacturer's support site if you get stuck.
Access your router's admin panel
Open a web browser on a device connected to your home network. Type your router's IP address into the address bar and press Enter. You'll be prompted to enter your admin username and password. If you've never changed these, check the label on the back or bottom of your router - default credentials are usually printed there.
Locate the guest network settings
Once logged in, look for a section labeled Wireless, Wi-Fi, or Network Settings. Within that section, find Guest Network or Guest Access. The exact path varies by router brand and firmware version.
Enable the guest network
Toggle the guest network on. You'll typically see options for both 2.4 GHz and 5 GHz bands. The 2.4 GHz band has broader range and works well for casual browsing; 5 GHz offers faster speeds at shorter distances. Enabling both gives guests more flexibility, but enabling just the 2.4 GHz band is sufficient for most households.
Set the network name (SSID) and password
Give your guest network a distinct name so it's easy to identify. Then set a strong password - at least 12 characters mixing letters, numbers, and symbols. Do not reuse your main network password. You can change this password periodically, especially after hosting larger gatherings.
Enable client isolation
Look for a setting called Client Isolation, AP Isolation, or Guest Isolation. Enabling this prevents devices connected to the guest network from communicating with each other or with devices on your main network. This is the single most important privacy setting for a guest network.
Optionally set a bandwidth limit
Some routers allow you to cap the upload and download speeds available to guest network users. This prevents a single visitor streaming 4K video from noticeably slowing down the rest of your household. Look for Bandwidth Control or QoS (Quality of Service) settings tied to the guest network.
Save your settings and test the connection
Click Save or Apply. Your router may briefly restart the wireless radios. Then connect a phone or laptop to the new guest network using the password you set and confirm it reaches the internet. Verify you cannot see or access devices on your main network from the guest connection.
Rename Your Guest Network Clearly
Choose a guest network name (SSID) that's obviously distinct from your main network - for example, adding '-Guest' to the end. This prevents confusion when visitors try to connect, and it reminds you which network is which when you log into your router later.
Keeping Your Guest Network in Good Shape
A guest network isn't fully set-and-forget. Change the guest password every few months, or after any event where you shared it widely. Periodically log back into your router to review which devices are connected - most admin panels show a live list. If you spot anything unfamiliar, changing the password immediately disconnects unauthorized users.
Also keep your router's firmware up to date. Manufacturers release firmware updates to patch security vulnerabilities, and an outdated router can undermine the protections a guest network provides. This ties directly into the habits covered in our guide to habits that quietly degrade your home network.
If you're finding that your guest network signal doesn't reach certain areas of the home, our article on fixing Wi-Fi dead zones covers practical ways to extend coverage without replacing your router entirely.
The content on this site is for informational purposes only and is not a substitute for professional advice. Always consult a qualified professional for guidance specific to your situation.