

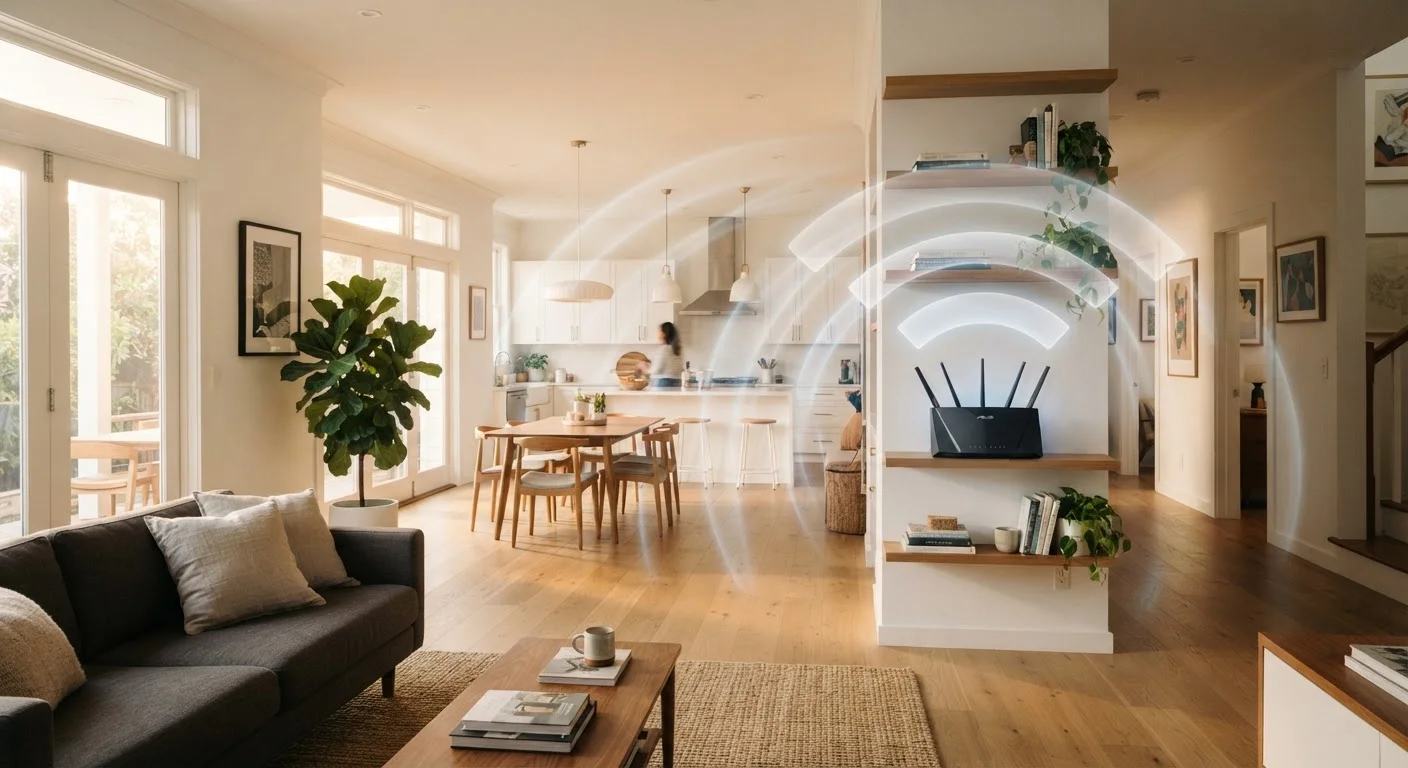
Why Dead Zones Form in the First Place
Wi-Fi signals radiate outward from your router in all directions, but they weaken as they travel - and lose strength faster when they pass through dense materials. Concrete walls, brick, metal appliances, and even large mirrors can absorb or deflect radio waves enough to drop a signal from strong to unusable within just a few feet. Floors and ceilings add another layer of interference when your router is on one level and your device is on another.
Interference from neighboring networks is also a contributing factor, especially in apartments or densely built neighborhoods. Most home routers operate on shared radio channels, and when several networks compete on the same channel, speeds drop and dropouts increase. Understanding these causes helps you choose the right fix - rather than simply buying new hardware and hoping for the best. For a deeper look at how wired and wireless networks compare across a home, see our guide to wired vs. wireless home networks.
Check Your Wi-Fi Myths First
Before spending money on hardware, it's worth knowing which common beliefs about Wi-Fi performance are actually true. Our article on common Wi-Fi speed myths separates fact from widespread fiction - including whether router height and signal bars are reliable indicators of actual performance.
What You'll Need Before You Start
Before making any changes, gather the basics so you can work systematically.
What you will need
Having these in place lets you measure improvement after each change - rather than guessing whether anything worked.
Step-by-Step: Fixing Your Dead Zones
Follow these steps in order. Many households resolve dead zones after the first two or three steps without purchasing any additional hardware.
Map Your Dead Zones
Walk through every room and floor of your home with a smartphone and run a quick speed test in each area. Note where speeds drop significantly or where the device shows only one or two signal bars. Pay special attention to rooms with thick exterior walls, basements, garages, and spaces farthest from the router. This baseline map tells you exactly which areas need attention and helps you measure improvement later.
Reposition Your Router
Move your router to as central a location as possible - ideally elevated (a shelf or bookcase works well), away from exterior walls, and clear of large metal objects, microwaves, and cordless phone bases. If your router is currently tucked in a corner or hidden in a cabinet, this single change often dramatically expands coverage. Aim for a position that places the router equidistant from your most-used areas.
Switch Problem Areas to the 2.4 GHz Band
Modern routers broadcast on two radio frequencies: 2.4 GHz and 5 GHz. The 5 GHz band offers faster speeds but has a shorter range and struggles more with walls. The 2.4 GHz band travels farther and penetrates obstacles more effectively - making it the better choice for devices in distant rooms or across floors. In your router's admin panel, ensure both bands are active, and manually connect devices in dead-zone-adjacent rooms to the 2.4 GHz network.
Change Your Router's Wi-Fi Channel
Download a free Wi-Fi analyzer app and scan your environment. The app will display which channels neighboring networks are using. Log into your router's admin dashboard and switch to the least congested channel - for 2.4 GHz, channels 1, 6, and 11 are non-overlapping and generally the best options. For 5 GHz, there are many more non-overlapping channels available. A less crowded channel reduces interference and can noticeably improve speeds and stability.
Update Your Router's Firmware
Log into your router's admin interface and check for firmware updates under the settings or administration menu. Install any available updates and allow the router to reboot. Firmware updates frequently include performance improvements and bug fixes that affect signal quality and stability - and they also close known security vulnerabilities. This is a low-effort step with meaningful potential upside.
Add a Range Extender or Powerline Adapter
If repositioning and settings adjustments haven't resolved a specific dead zone, hardware is the next step. A Wi-Fi range extender plugs into an outlet midway between your router and the problem area, receiving and rebroadcasting the signal. A powerline adapter kit uses your home's electrical wiring to carry the network signal to a distant room, where the second unit creates a new access point - useful when thick walls block radio signals entirely. Place extenders within solid signal range of the router, not deep inside the dead zone itself.
Don't Place Extenders in the Dead Zone
A common mistake is plugging a range extender into an outlet inside the weak-signal area. Extenders must receive a usable signal in order to rebroadcast it - placing one where coverage is already poor produces little improvement. Position the extender in an area with moderate-to-good signal, roughly halfway between the router and the dead zone.
If these steps don't fully resolve your coverage gaps - especially in larger or multi-story homes - a mesh Wi-Fi system may be worth considering. Our mesh vs. traditional router comparison breaks down when the upgrade makes sense and when it doesn't.
Keeping Your Network Healthy Long-Term
Fixing dead zones is a one-time task, but maintaining good Wi-Fi performance is ongoing. Routers accumulate connected devices over time, and congestion can quietly erode speeds even in areas that previously had strong coverage. Periodically reviewing which devices are connected - and removing ones you no longer use - helps keep your network running efficiently.
It's also worth checking your router's firmware every few months. Manufacturers release updates that fix bugs, patch security vulnerabilities, and sometimes improve radio performance. Most modern routers allow firmware updates directly from the admin dashboard. For a complete network health checklist, see our home network security and maintenance checklist. And if you have guests who regularly connect, a separate guest Wi-Fi network keeps your primary devices protected while still extending hospitality.
The content on this site is for informational purposes only and is not a substitute for professional advice. Always consult a qualified professional for guidance specific to your situation.