

Why Tire Pressure Matters More Than Most Drivers Realize
Tire pressure is one of the most commonly overlooked maintenance items - yet it directly affects fuel economy, braking distance, handling, and tire lifespan. Underinflated tires flex excessively, generate more heat, and wear unevenly along their outer edges. Overinflated tires ride stiffly, reduce the contact patch with the road, and wear faster down the center tread. Neither condition is safe.
Modern vehicles often include a TPMS warning light, but this system typically triggers only when pressure drops 25% below the recommended level - well into unsafe territory. Relying on that dashboard light alone means you may be driving on significantly underinflated tires without any warning. Manual checks remain the most reliable method.
Because tire pressure is temperature-sensitive, it's a check worth building into your routine. Pressure drops naturally as outside temperatures fall and rises as tires heat up from driving. For a broader seasonal approach to vehicle upkeep, see the Seasonal Car Maintenance Checklist.
What you will need
Tools and What You Need Before You Start
Checking tire pressure requires minimal equipment. Here's what to have on hand before beginning.
Tire Pressure Gauge
Measures the air pressure inside each tire in PSI (pounds per square inch).
Air Compressor or Portable Inflator
Used to add air to underinflated tires to bring them to the correct pressure.
Valve Cap Removal Tool or Fingers
Removes the small plastic cap covering the tire's valve stem before attaching the gauge.
Small Notepad or Phone
Useful for recording each tire's current reading before adjusting, especially if checking all four tires.
Your owner's manual is the best reference for your vehicle's specific recommended pressure and any special notes about spare tires or load-rated conditions. If you're unsure how to navigate it, the guide to reading your owner's manual walks through how to find exactly the information you need.
Step-by-Step: How to Check and Adjust Tire Pressure
Follow these steps carefully to get an accurate reading and bring each tire to the correct pressure. For context on how this fits into a broader DIY maintenance routine, Doing Your Own Car Maintenance: Honest Tradeoffs offers a useful perspective on what's worth handling yourself.
Find Your Vehicle's Recommended PSI
Locate the sticker on the inside edge of the driver's door or door jamb. It lists the manufacturer-recommended tire pressure for your front and rear tires. This is the target number - not the maximum PSI printed on the tire sidewall. Most passenger vehicles fall between 30-35 PSI, but your specific vehicle may differ.
Remove the Valve Cap and Attach the Gauge
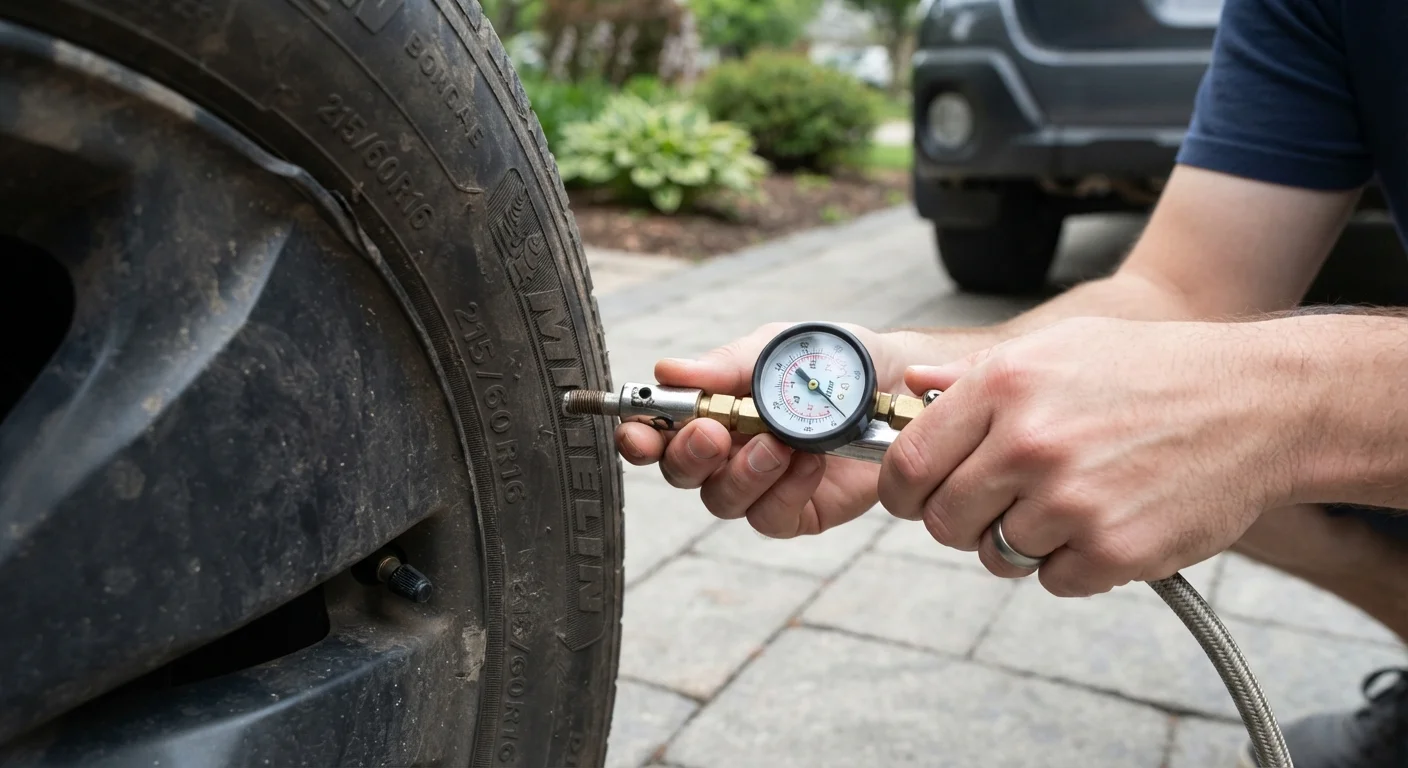
Unscrew the small plastic cap from the valve stem - the short rubber or metal nozzle protruding from the inner rim of each wheel. Place the cap somewhere safe so it doesn't get lost. Press the open end of your pressure gauge firmly and straight onto the valve stem. A proper seal prevents air from escaping and gives an accurate reading.
Read the Pressure and Record It
Hold the gauge steady for 1-2 seconds, then read the PSI value displayed. Digital gauges show a number on a screen; dial gauges show a needle; pencil-style gauges push out a calibrated rod. Note the reading for each tire before moving on. Compare each reading against your door jamb target PSI.
Add Air If the Tire Is Underinflated
If the reading is below the recommended PSI, connect an air compressor or portable inflator to the valve stem and add air in short bursts. Recheck the pressure after each burst - it's easy to overshoot. Most gas station air machines allow you to set a target PSI and will stop automatically.
Release Air If the Tire Is Overinflated
If the reading is above the recommended PSI, use the small pin or nub on the back of many gauge caps - or a dedicated valve stem tool - to press down the center of the valve stem and release air in brief bursts. Recheck pressure after each release until you reach the target.
Replace the Valve Cap and Repeat for All Tires
Once the tire is at the correct pressure, screw the valve cap back on snugly by hand - don't overtighten. Move to the next tire and repeat steps 2 through 5. Don't forget to check your spare tire, which is often mounted underneath the vehicle or in the trunk.
Make It a Monthly Habit
Tire pressure can change by 1-2 PSI each month even without a slow leak. Setting a recurring reminder to check all four tires once a month - ideally on the same day - keeps you ahead of gradual pressure loss. Pairing the check with another routine task, like refueling, makes it easier to stay consistent.
After completing your pressure check, tire health is also influenced by rotation and balance. If you haven't looked into that recently, Tire Rotation vs. Wheel Balancing: Two Different Jobs explains the distinct roles each service plays.
Common Mistakes That Lead to Inaccurate Readings
Even with the right equipment, a few common errors can skew your results:
- Checking hot tires: Driving raises tire temperature and temporarily increases pressure by 4-6 PSI. Always check before driving, or after the vehicle has sat for at least three hours.
- Using the tire sidewall PSI: The number molded into the tire sidewall is the tire's maximum pressure rating - not your vehicle's recommended operating pressure. Use the door jamb sticker instead.
- Not replacing the valve cap: Valve caps keep dirt and moisture out of the valve stem. Skipping this step can lead to slow leaks over time.
- Forgetting the spare: Spare tires lose pressure slowly over time and are often forgotten until needed. Check yours during the same routine.
Never Inflate Tires Beyond the Maximum Rating
The maximum PSI molded onto the tire sidewall is a structural limit, not a recommended operating pressure. Inflating a tire to its maximum rating significantly increases blowout risk, especially on hot pavement or during high-speed driving. Always inflate to the vehicle manufacturer's recommended PSI from the door jamb sticker.
Tire pressure checks also belong in any pre-drive inspection. The pre-trip vehicle check guide outlines everything worth inspecting before a long journey.
The content on this site is for informational purposes only and is not a substitute for professional advice. Always consult a qualified professional for guidance specific to your situation.